How to Store Your Snowblower Properly for Next Winter
Before you shove your snowblower in a corner, spend an hour doing these key steps so it starts up perfectly when the first snow hits next season.
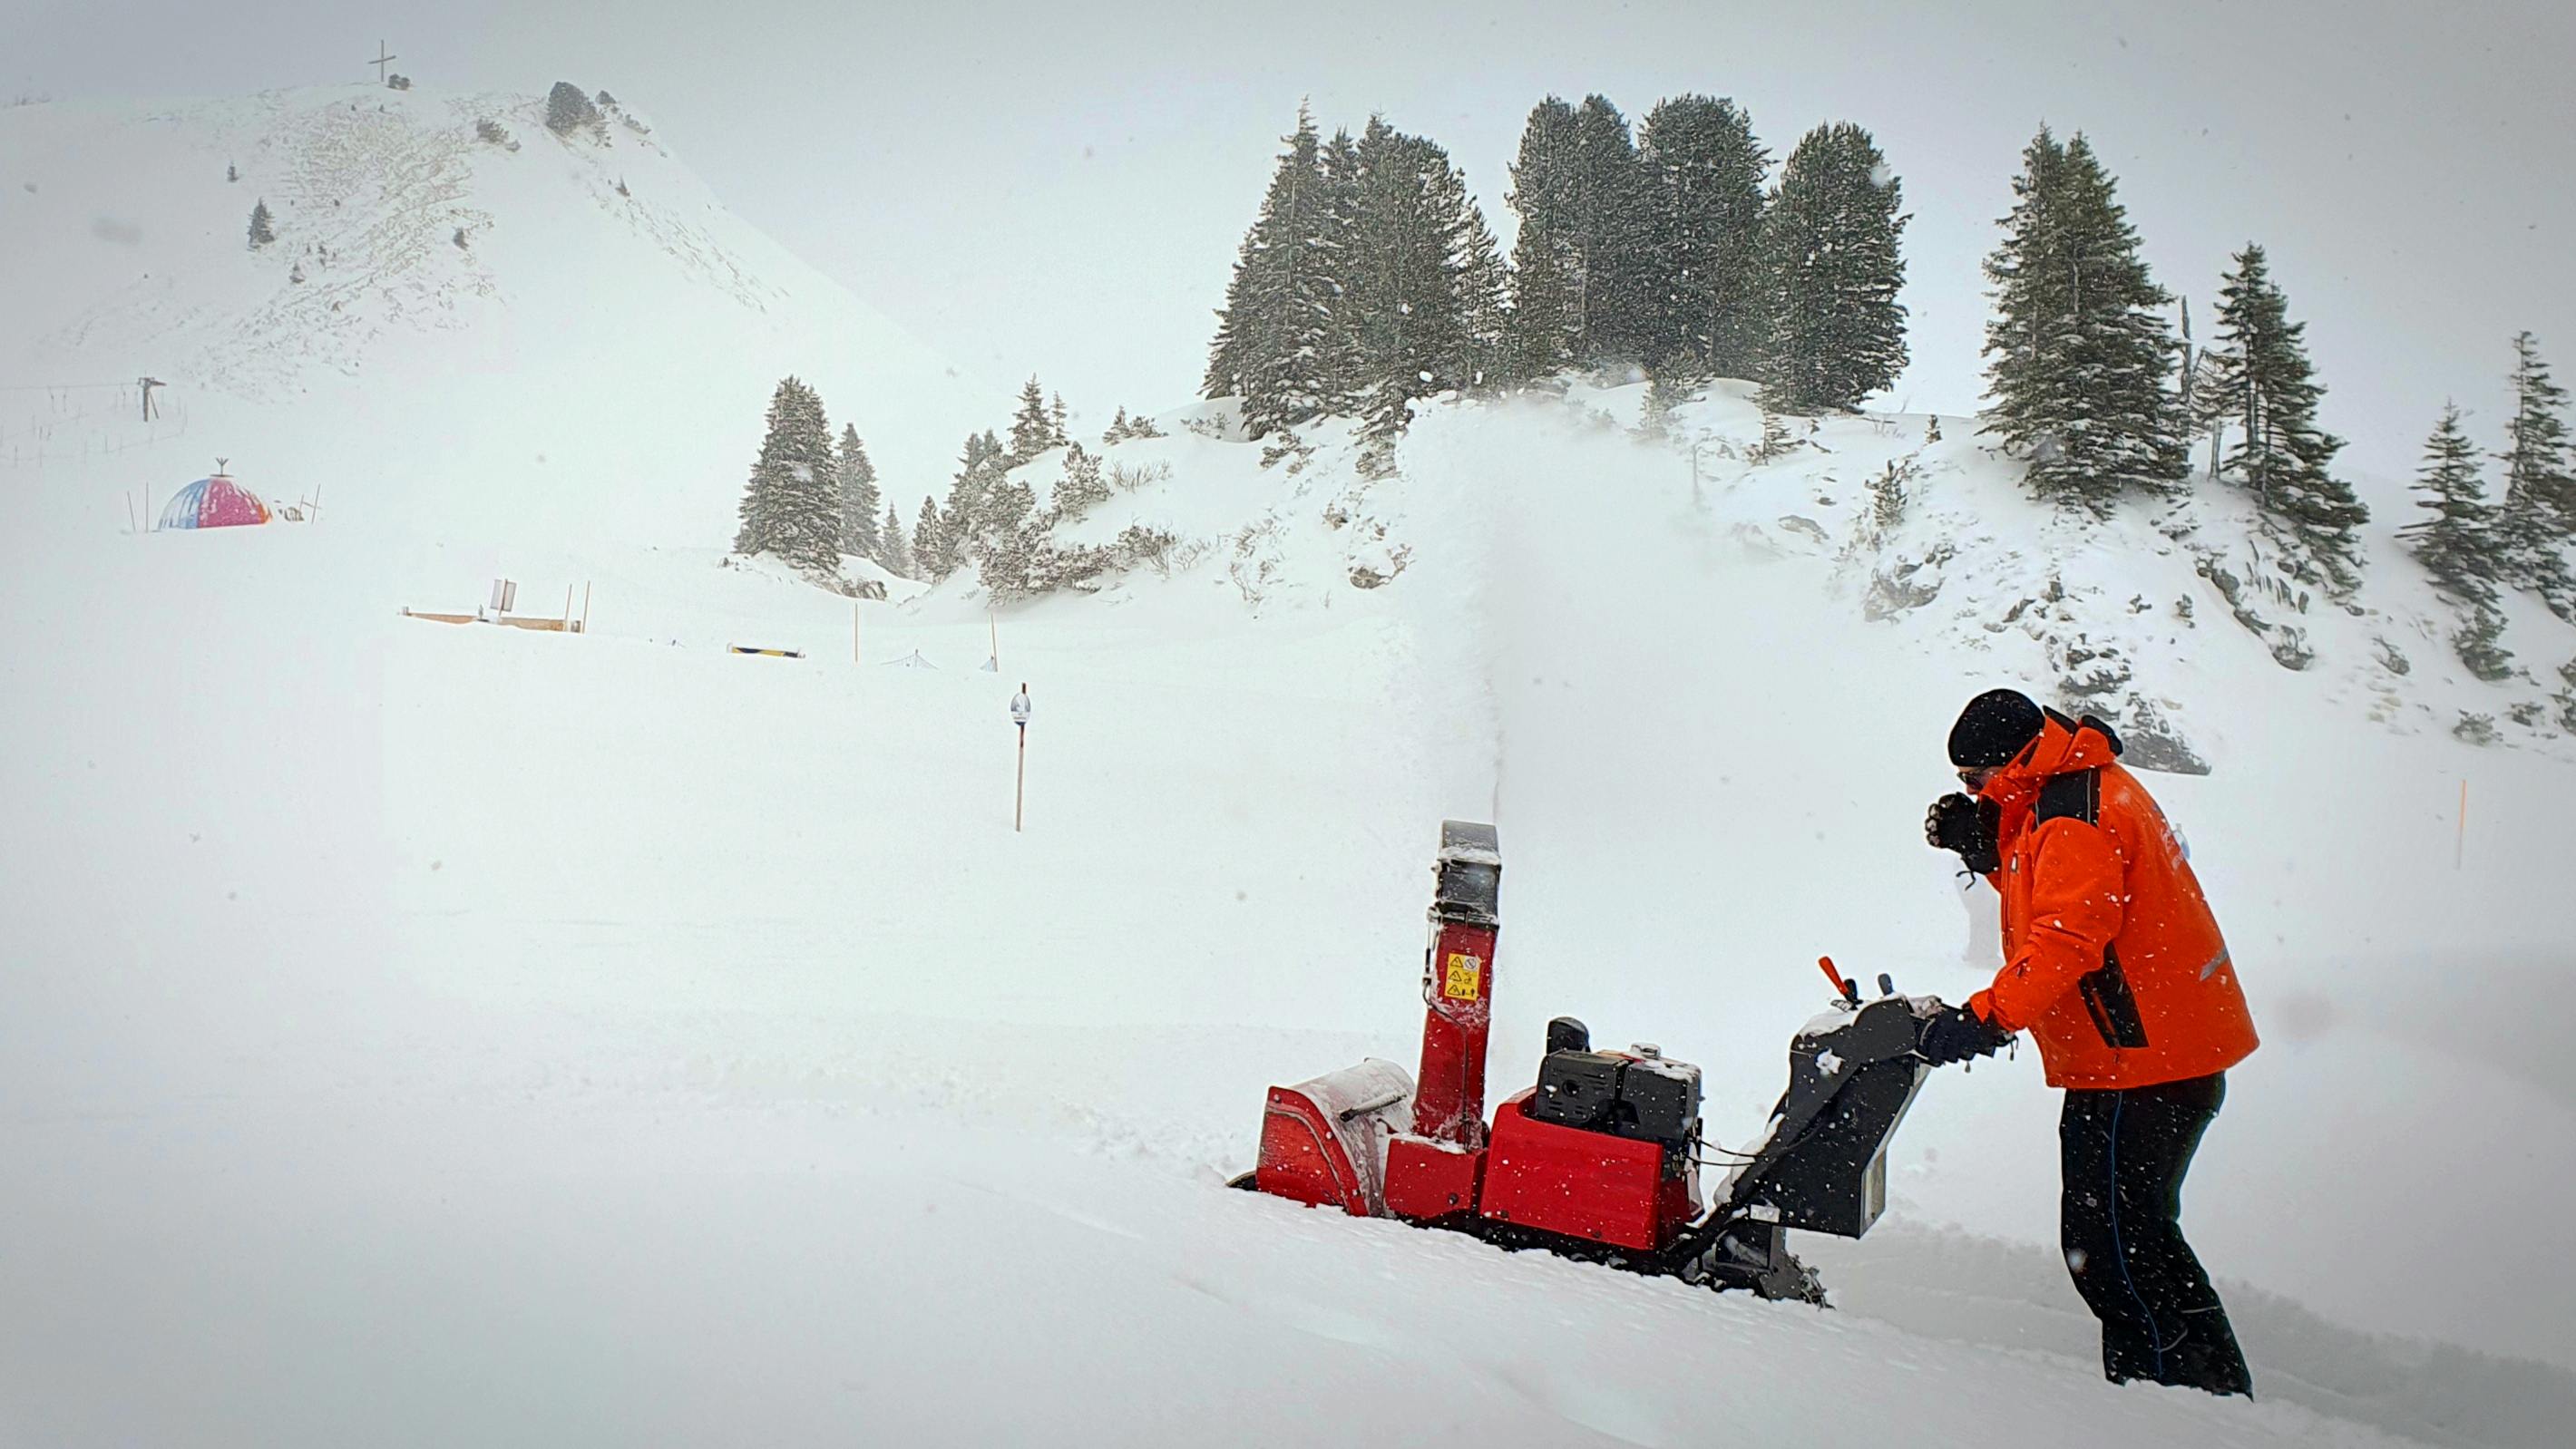
Spring is finally here, and if you’re like most of us on the block, that snowblower is sitting in the garage just waiting to get shoved into a corner until November. Before you do that, take about an hour this weekend to put it away the right way. Trust me, as parents we know there’s nothing worse than pulling that machine out during the first real snowstorm of the season and hearing nothing but a sad little sputter.
Here’s what to do so next winter goes smoothly.
Start with the fuel
This is the single most important step, and if you only do one thing, make it this one. Gas starts breaking down after just about a month of sitting. When it does, it leaves behind residue and gunk that clogs the carburetor and makes starting a real headache come December.
You have two options. You can run the snowblower until it burns through all its fuel and dies on its own. Or you can fill the tank up, add a fuel stabilizer like Sta-Bil, and run the engine for a few minutes to push the treated gas through the whole system. The stabilizer keeps fuel usable for up to two years, and a full tank helps reduce moisture buildup inside. Either way works. Just pick one and do it.
Change the oil
Fresh oil in storage is a gift to your future self. Warm the engine up for a few minutes first, then turn it off and disconnect the spark plug wire before you do anything else. Drain the old oil, refill with 5W-30, check the dipstick, reconnect the wire, and run it briefly to circulate the clean oil. Dispose of the used oil properly according to your local guidelines.
Check the belts and auger
Give the drive belt and auger belt a good look. You’re checking for fraying, tears, burns, or any obvious slack. Spin the auger blade by hand and make sure it turns freely. Clear out any debris that built up over the season. Check the shear pins too, and replace any that are broken or missing. These are cheap parts that save you from a much bigger headache.
Lubricate everything that moves
Moving parts need protection while they sit for months. Work lubricant into the auger shaft, drive gears, cables, and wheel axles according to your owner’s manual. Grease the gear box and hit the cables with a spray lubricant. This is what keeps rust and corrosion from seizing things up while the machine collects dust in your garage all spring and summer.
Pull the spark plug
You don’t necessarily need a brand new plug every season, but you do need to inspect it. Find yours using the owner’s manual since every machine is a little different. Pull the spark plug wire, remove the plug with a deep-well socket wrench, and look it over for charring or damage. Replace it if anything looks off.
Here’s a step a lot of people skip: while the plug is out, add a small amount of fogging oil into the cylinder head and pull the starter rope a few times. This coats the inside of the cylinder and prevents rust from forming during storage. Put the plug back in, reconnect the wire, and you’re good.
Adjust your scraper blade and skid shoes
Before you roll it into the corner for good, set the skid shoes to the right height for your driveway surface. This protects the auger blade and your driveway from unnecessary scraping when you fire it back up next season.
One last thing
Give the whole machine a good wipe-down, cover it with a breathable cover if you have one, and store it somewhere dry. Garages work fine as long as they’re not prone to flooding.
The whole process takes about an hour on a Saturday morning. Handle it now and next November you’ll pull that snowblower out, give it one pull, and feel like a genius. That’s the kind of weekend win we can all use.